
Excel 2024: Use People to Add Interest to Your Worksheet
April 10, 2024 - by Bill Jelen

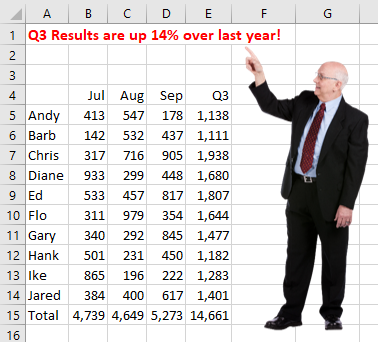
Microsoft 365 subscribers now have access to 925 People in Excel. In a study conducted by YouTube, 90% of the most-watched videos have an emotive human face prominently on the title card. Photos of people attract attention because humans are naturally drawn to faces. Try adding a person to your next report to get someone to look at the report.
To insert a person, go to Insert, Icons. Across the top of the dialog, you can choose from Images, Icons, People, Stickers, Illustrations, and Cartoon People. Click on People.
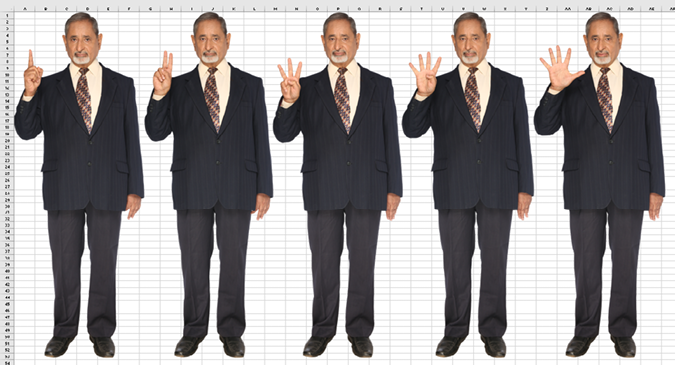
There are 925 poses of 41 people. Each person has from 15 to 30 multiple poses, exhibiting different emotions. There are people holding their thumb up, or down. Seven of the people offer a series with 1, 2, 3, 4, or 5 fingers extended up.
To find all poses of one person, you might have to know their name to search. Small tiles identify 32 of the 41 people (chosen at random). If you want someone without a name tile, you can type their name in the search box.
The names of people in the photo below are: (Row 1) Addison, Alexander, Alfredo, Angela, Anthony, Babs, Basia, Carrie, Chantel, Charles, Christania, Deepika, Dennis, Elena, Fu, Herlinda, Jian, Jonathan, Kairy, Karun, and Kesha. Row 2: Kevin, Klein, Lance, Mara, Marci, Melanie, Melissa, Nicole, Noah, Pavan, Rachel, Randy, Shao, Sherri, Shreya, Soham, Stanley, Tanvi, Tiyna, and Ursula.

While you can search for people by name, you can also search by emotion or action. You can find people who are happy, excited, frustrated, pointing, or holding a sign. They're also grouped by angle. Searching for "Profile" will find people facing to the side, for example, while searching for "Back" will find people facing away from you.
Below, a series of photos of Karun could be used to illustrate five sequential steps.
Bonus Tip: Add Text to the Sign Held by a Person
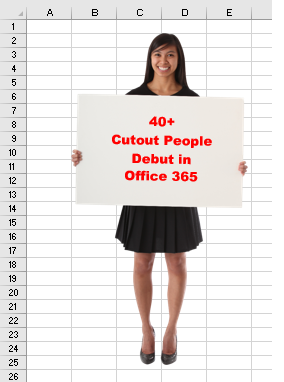
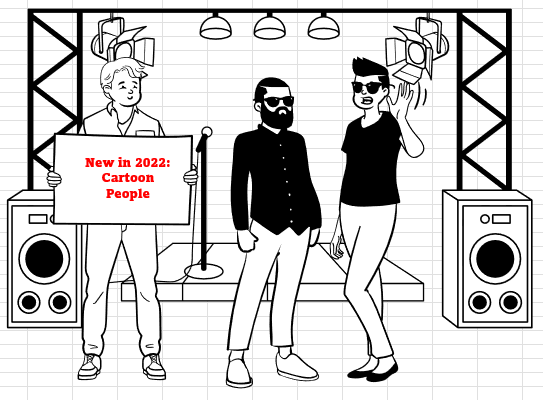
There are also poses where the person is holding a blank sign. You can add text to the sign, like in this image of Angela on the left or the tableau created from Cartoon People:
 |
 |
Here are the steps for adding text to a sign and making it look natural:
1. Use Insert, Icons, People, and search for "Sign".
2. Select a person and click Insert.
3. Resize the person as needed to fit the situation.
4. Click any cell outside of the picture to unselect the picture.
5. Use Insert, Shapes, Textbox. Draw a text box that aligns closely with the sign.
6. The color of the sign and the color of the white text box in Excel don't match exactly. With the text box selected, go to Shape Format, Shape Fill, & choose No Fill. This will make the background of the text box transparent and match the color of the sign. On the same tab, choose Shape Outline, No Outline.
7. Type your text to appear on the sign. On the Home tab, use Increase Font, Center, Middle Align, Font Color, and Font to make the text on the sign stand out.
Note
I keep picturing the photo shoot where these people were put through the paces of being photographed with up to 30 different emotions. It had to be a tiring day. At the point where they asked people to hold a large blank sign, I doubt that anyone bothered to have a carpenter's level handy to make sure the sign was completely level. In most cases, the sign is tilted by a few degrees.
8. Align the top of the text box with the top of the sign. Make sure the text box is selected. Go to the Shape Format tab in the ribbon and look for the Arrange group toward the right side. The last drop-down in that group is called Rotate. Open the drop-down menu and choose More Rotation Options. This opens the Format Shape task pane. The Rotation spin button allows you to rotate in 1-degree increments. Rotate using the spin button until the text box lines up with the sign.
Bonus Tip: Make an Image Semi-Transparent
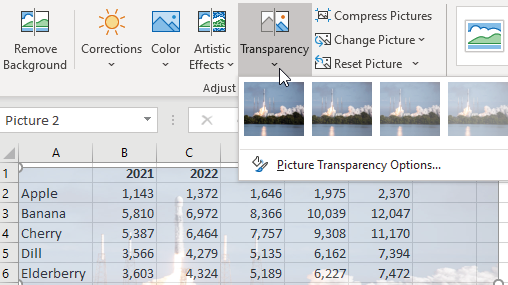
Semi-transparent images became easier in Microsoft 365 starting in the fall of 2019. If you use Insert, Image, the image always covers the data in the cells. Starting in 2019, you can use the Transparency drop-down on the Picture Format tab of the Ribbon to change the picture transparency.
Tip
Picture Transparency is better than the old Page Layout, Background. When you choose a background image, it displays behind the numbers, but it will not print. With Picture transparency, you can control the size and shape of the image.
Caution: In the screenshot above, you will see the Remove Background tool. There is also a Set Transparent Color option under the Color drop-down menu. Both tools are finicky. The Set Transparent Color might work for a sign being held by a Person, but it won't work for a sky with many shades of blue. The Remove Background tool asks you to mark areas to keep and areas to remove. It seems that when you click a new area, the logic recalculates the old areas. As you remove a new section, the old sections come back. To painlessly remove backgrounds, try PhotoShop or Topaz Mask AI.
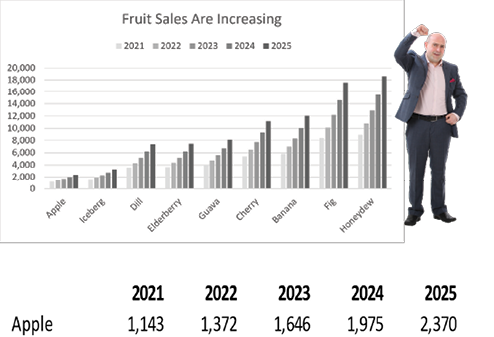
Starting in 2020 for Microsoft 365, you can right-click any object in Excel and choose Save As Picture. If you want to save a Chart plus a Person, you can select them both and then choose Group from the Format Picture tab of the Ribbon.
 |
Tip What if you want to save a picture of values in cells? You could use Paste Linked Picture, or simply use the Office Snipping Tool with Win+Shift+S. |
This article is an excerpt from MrExcel 2024 Igniting Excel
Title photo by Jacek Dylag on Unsplash