
Self-sign Your Macros For Co-workers
June 28, 2021 - by Bill Jelen

Challenge: You’ve created some macros for co-workers to use. Having them click Enable Macros each time is tiresome, but you don’t want them to drop their macro security settings too low.
Solution: You can provide a self-signed certificate for your macros. Getting an “official” certificate can be pricey, but you can create one yourself.
To create the certificate, select Start, All Programs, Microsoft Office, Microsoft Office Tools, Digital Certificate for VBA Projects. Type a name for your certificate, as shown in Figure 149.
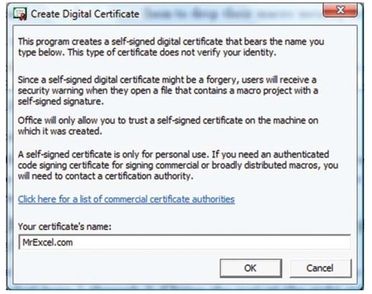
Excel confirms that a new signature has been created.
To sign a macro, follow these steps:
- Go to the Visual Basic editor.
- From the Visual Basic editor menu, choose Tools, Digital Signature.
- Click the Choose button in the Digital Signature dialog.
- Choose the signature you just created and click OK.
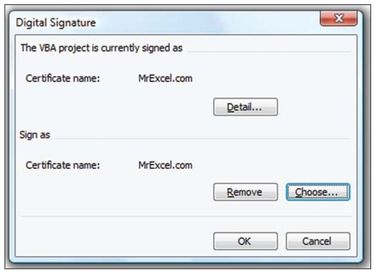
Excel now lists the project as signed, as shown in Figure 150:
To enable the certificate on another computer, follow these steps for Excel 2003:
- Open Excel.
- Select Tools, Macro, Security. In the Security dialog, select Medium.
Open the workbook that is signed. Excel displays the Security Warning dialog shown in Figure 151.
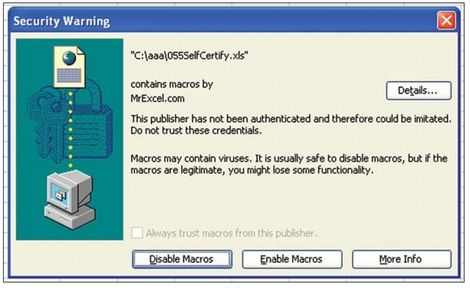
Figure 151. Excel indicates that the macro is signed by you. Click the Details button in the Security Warning dialog. The Digital Signature Details dialog appears (Figure 152).
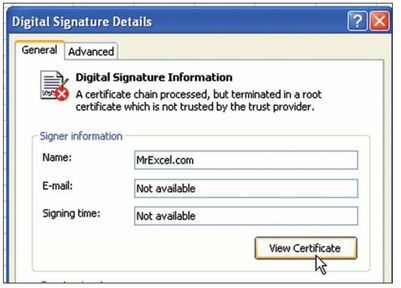
Figure 152. You can view the certificate. Click View Certificate . The Certificate dialog appears (Figure 153).
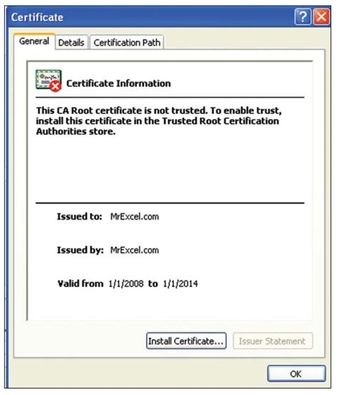
Figure 153. You use this dialog to install the certificate on this machine. - Click Install Certificate.
- Click Next three times. Click Yes. Click OK three times to return to the Security Warning dialog.
- Back in the Security Warning dialog, choose Enable Macros.
- Close the workbook.
- Reopen the workbook. You get the same security warning shown in Figure 152, but the checkbox for Always Trust Macros from This Publisher is now enabled. Check this box. Click Enable Macros.
From now on, this computer will be able to open your signed macros without any hassle!
In Excel 2007, the process is similar:
- Open Excel. Make sure the macro security is set to Disable All Macros with Notification.
- Open your workbook. The information bar says Macros Have Been Disabled.
- Click Options. The next dialog warns that the digital signature is invalid and cannot be trusted. Below that, click Show Signature Details.
- Click View Certificate.
- Click Install Certificate.
- Click Next three times and click OK four times.
- Close the workbook in Excel.
- Reopen the workbook in Excel.
- Click the Options button in the information bar.
- Choose Always Trust Content from This Publisher.
This computer is now ready to open your signed macros.
Additional Details: The one downside of using this approach is that if a bug arises at your co-worker’s computer, you can no longer fix the macro there on the spot. You have to send the macro back to yourself, fix the macro, re-sign the macro, and send it back to your co-worker.
Summary: Self-signing your macros makes it easier for your co-workers to use them.
Source: Digitally signing macros on the MrExcel Message Board.
The original post was provided by Greg Truby. The topic was nominated by Joe4.
Title Photo: Cytonn Photography on Unsplash
This article is an excerpt from Excel Gurus Gone Wild.